
Homemade Vanilla Extract: The Easiest, Most Delicious DIY You’ll Make This Holiday Season
If you’ve ever bought real vanilla extract from the grocery store and felt personally victimized by the price tag, you’re not alone. Those tiny bottles of “pure vanilla extract” add up fast, especially if you bake a lot or love gifting homemade goodies this time of year. And don’t even get me started on the cheap stuff posing as vanilla flavor or imitation vanilla. Once you know what the good stuff tastes like, you can’t go back.
This is exactly why homemade vanilla extract has become one of my favorite long-term kitchen projects. It’s one of the easiest things you’ll ever make, it has the best shelf life, and the flavor only gets better with time. Plus, it’s one of those DIYs that looks incredibly impressive even though you barely have to lift a finger. Truly the dream.
Today we’re diving into homemade vanilla extract using simple ingredients, easy step-by-step instructions, and a recipe you can customize with different varieties of vanilla beans like Madagascar vanilla beans, Tahitian vanilla beans, or even Mexican vanilla beans if you want your extract to have its own unique flavor. Whether you’re making a large batch for holiday season gift-giving or a smaller bottle for your own pantry, this guide has you covered.
And trust me: once you nail this, you’ll never buy store-bought vanilla extract again.
Jump to Recipe
Why Make Your Own Vanilla Extract?
There are a few big reasons, and they’re honestly pretty convincing:
1. Savings that add up fast
Store-bought versions are expensive because real vanilla beans are expensive. When you make your own, you can buy whole vanilla beans or grade B vanilla beans (a more economical option) in bulk at the best price and create multiple 8-ounce bottle portions for a fraction of what you’d pay at the store. You also get better alcohol content and stronger extract because you control the number of beans and ounces of alcohol.
2. Flavor that doesn’t even compare
Homemade extract tastes deeper, richer, and way more “real” than the typical supermarket options. Once your first batch is ready, do a smell test next to a store-bought vanilla extract. The difference is wild. You also get to choose the exact flavor profile you want using different varieties of vanilla beans and various alcohol bases.
3. It’s practically effortless
A funnel, glass bottles, vanilla beans, and vodka. That’s it. A quick slice with a sharp knife, add the beans, pour in the alcohol, give it a good shake, tuck it into a cool dark place, and walk away. That’s genuinely the whole extraction process.
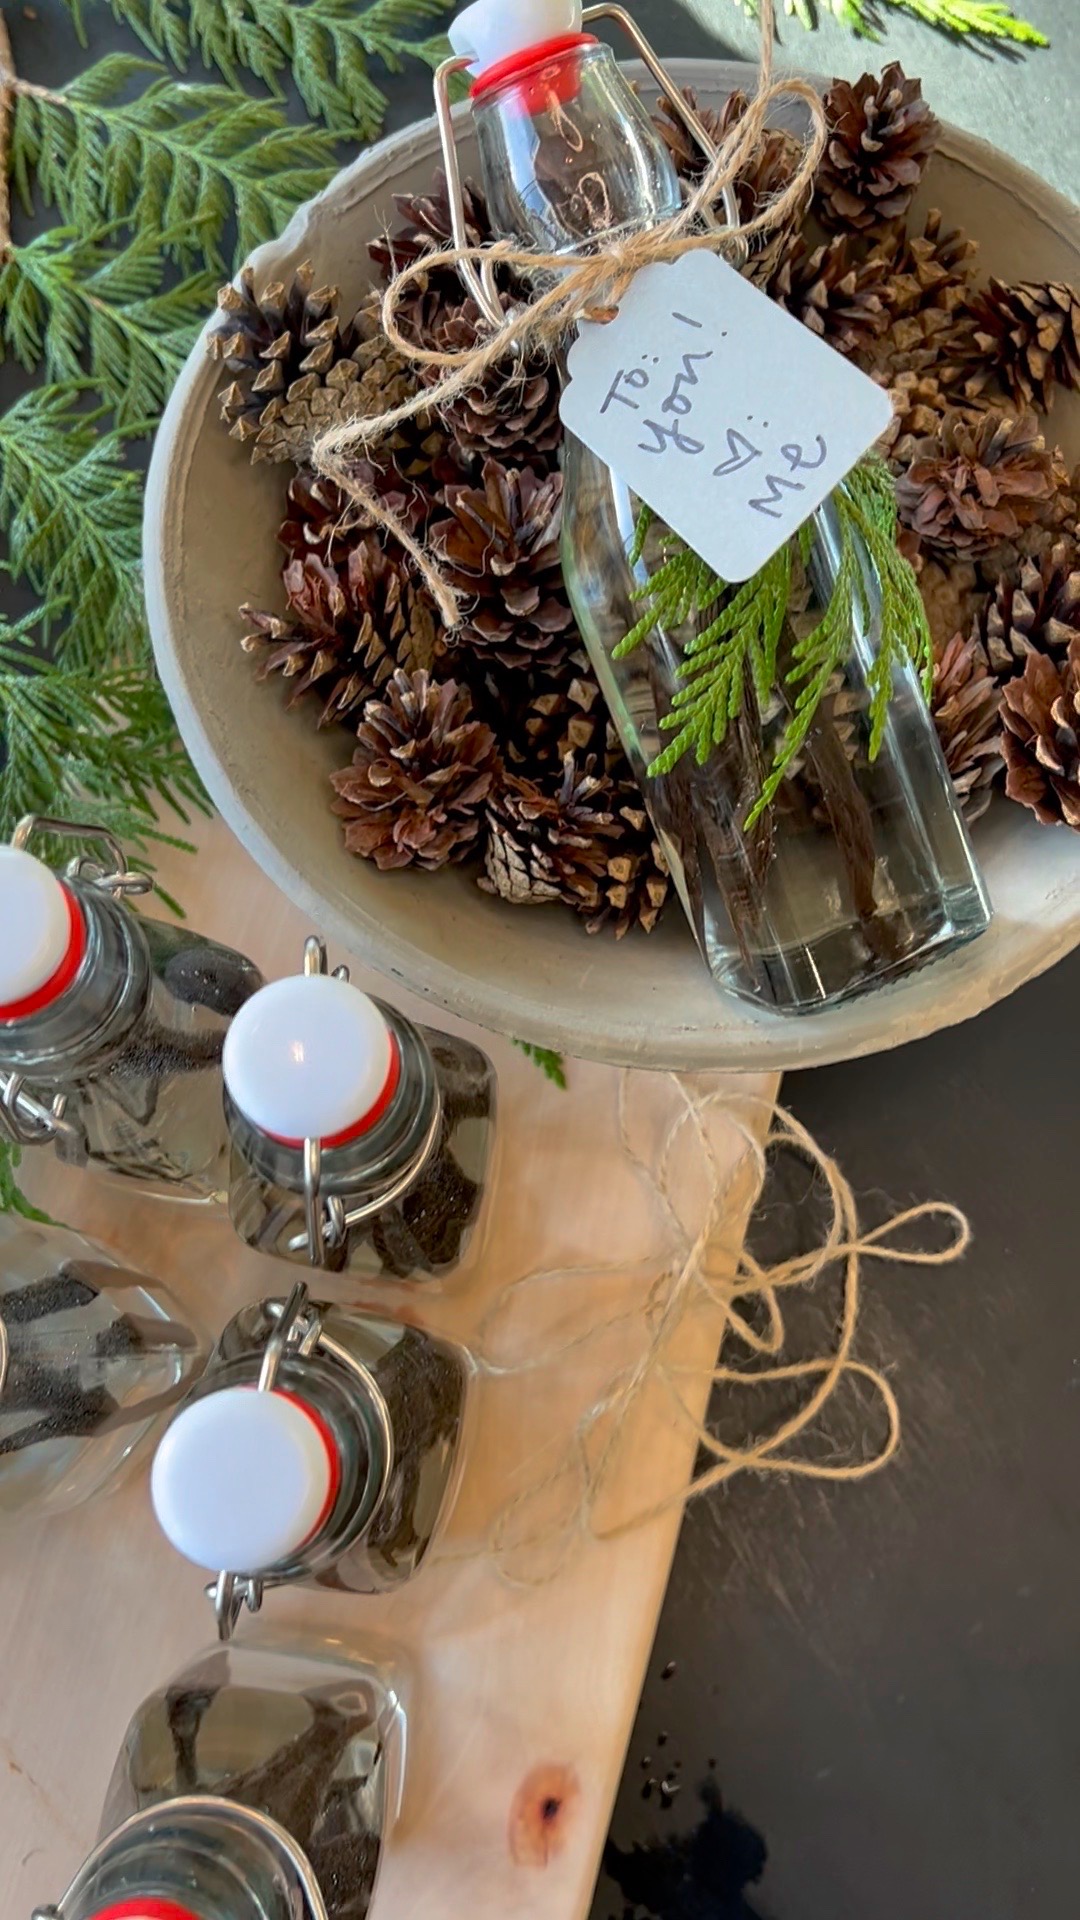
4. It makes incredible gifts
Homemade extracts look so beautiful in smaller bottles tied with twine and sticker labels. They make excellent Christmas gifts, housewarming presents, Mother’s Day surprises, or something special to tuck into a homemade vanilla ice cream recipe kit. People swoon over them.
Let’s Talk Beans: Choosing the Right Vanilla

Here’s the fun part: vanilla beans have different personalities. You can choose the ones that feel right for your kitchen or the specific flavors you want in your homemade extract.
Madagascar Vanilla Beans
These are your classic, bold, creamy, slightly smoky beans. They create a rich, traditional vanilla flavor that works beautifully in baking. If you want a strong, familiar extract, these are a fantastic choice.
Tahitian Vanilla Beans
These have a more floral, delicate vibe with fruity notes. They’re amazing for recipes where vanilla is the star, like homemade vanilla sugar or recipes calling for vanilla essence. They also produce a brighter, lighter flavor.
Mexican Vanilla Beans
Deeper, spicier, and more complex. These bring a warm, almost caramel-y flavor and are especially lovely in holiday baking during the colder months.
Grade B Vanilla Beans vs. Whole Grade A Beans
Grade B beans are specifically made for extraction. They’re drier, cheaper, and yield a more intense flavor. Whole beans (also called Grade A or “gourmet grade”) are plumper and prettier, but they’re more expensive and not necessary for homemade extract. If you’re making a large batch or just want the best option for the best result, Grade B is the way to go.
Alcohol Options for Homemade Extract

Vodka is the most common base, and for good reason. It’s neutral, inexpensive, and won’t compete with the flavor of the vanilla. For homemade alcohol-based vanilla extract, you’ll want 80 proof vodka (40 percent alcohol content). That’s the sweet spot for drawing out flavor without overpowering it.
But you can absolutely play:
White Rum
Gives a slightly sweeter, rounder flavor. Makes an excellent choice for cookies, cakes, and homemade vanilla extract recipes where you want a little warmth.
Bourbon
If you want a deeper, more intense flavor, bourbon adds a lovely complexity to the vanilla. This also works beautifully in fall and winter recipes.
No matter which you choose, just make sure the beans are completely covered at all times. That’s key to the extraction process and to avoiding spoilage.
Supplies You’ll Need

You don’t need a fancy setup. In fact, the easiest way to make DIY vanilla extract is with simple tools you probably already own or can grab at Hobby Lobby, Amazon, or your local craft store. Here is the link to exactly what I use!
Supplies:
- Glass bottles or mason jars (8-ounce bottle sizes work well)
- A small funnel
- Twine and sticker labels (only if you’re gifting)
- A sharp knife
- Hot water (for cleaning and sanitizing jars)
A cool place to store them afterward is important, too. A cabinet, pantry, or anywhere away from direct sunlight is perfect.
Ingredients
- Vodka (or rum or bourbon)
- Organic vanilla beans (Tahitian, Madagascar, Mexican, or a mix)
Simple, right? You can do this with a single fold approach (standard strength extract) or double fold (a stronger extract with twice the beans). For gifting during the holiday season, double fold is always a huge hit because the flavor develops faster and tastes more intense.
How to Make Homemade Vanilla Extract (Step-by-Step Instructions)

Here’s the recipe, with everything you will need to make your own batch at home.
1. Slice the beans
Use a sharp knife to slice each vanilla bean lengthwise. You don’t need to cut them all the way through; just open them enough to expose the tiny black seeds inside. This is what gives you that beautiful, dark brown, fragrant extract.
2. Add the beans to the bottle
Place 4–5 sliced beans into each bottle or mason jar. If you’re using smaller bottles, stick with 2–3 beans. If you’re making a larger batch, increase the number of beans based on size. There’s a pretty good chance that once you start making your own vanilla extract, you’ll end up making multiple jars at once because it’s addictive.
3. Pour in the alcohol
Using your small funnel, pour vodka into the jar until the beans are completely covered. This part is important. Exposed beans can mold, so make sure everything stays submerged.
4. Shake
Give your jar a good shake. This helps kick-start the extraction process.
5. Store in a cool dark place
Pop your bottles into a cool dark place like a pantry, cupboard, or cabinet. Room temperature is perfect. Avoid anywhere with direct sunlight since that can impact the flavor of the vanilla pods and shorten the shelf life.
6. Turn every week or two
Gently shake or turn the jars every week or so. Some people do this the first week only, others for the full 6 weeks. A little movement just helps everything infuse evenly.
How Long Until It’s Ready?
You have two milestones:
- 6 weeks: The vanilla will be fully steeped and the flavor will be strong enough to use in baking.
- 3 months: Peak flavor. If you want the best result and a stronger extract, let it go the full 12 weeks.
If you wait even longer, the flavor becomes more intense and complex. I’ve had jars from last year that tasted unreal in holiday baked goods.
Tips for Getting the Best Flavor
Because I’ve made a lot of first batches and second batches over the years, here are a few extra tips your readers will appreciate:
Keep topping off your extract
If your alcohol level drops below the top of the beans over time, add a splash of vodka to keep everything covered. This helps preserve the extract and keep the full bean submerged.
Reuse your beans
When your extract gets low, just add more alcohol to create a new batch. After a long time, the beans will eventually wear out, but you can get multiple rounds of extract from one set of beans.
Use your leftover beans for vanilla sugar
After about a year, if your beans are tired but still fragrant, tuck them into a jar of sugar and make homemade vanilla sugar. It’s the easiest way to add flavor to oatmeal, cookies, and coffee.
Play with different ways of using vanilla
Add it to whipped cream. Mix it into coconut yogurt. Use it in homemade vanilla ice cream recipes. Or just sniff it like a Victorian woman and call it aromatherapy.
How to Package Homemade Vanilla Extract for Gifts

Homemade vanilla is one of those holiday gifts people remember forever. It’s thoughtful, useful, and has the kind of old-fashioned charm that feels really special.
Here’s how to package it beautifully:
- Use small bottles or smaller jars (4–8 oz bottles work perfectly)
- Tie the top with twine
- Add sticker labels with the date you made the extract
- Include a short tag with instructions like “Store in a cool place. Shake occasionally. Ready by January!”
If you’re sharing affiliate links on your blog, this is a great place to include links for bottles, vanilla beans, and funnels. People love convenience, especially during the holidays.
Homemade Vanilla
Ingredients
Equipment
Method
- Slice beans length wise.
- Add 4-5 to each bottle.
- Pour vodka to completely cover.
- Shake and let sit in a cool dark place, turning every week or two.
Notes
Troubleshooting Common Questions
Why is my extract still light?
Sometimes the color takes longer to develop depending on the alcohol content, number of beans, or type of beans. Give it time. The best flavor and deepest dark brown color usually show up between the first week and the three-month mark.
Why do my beans float?
This is normal. They’ll settle eventually. Just keep them fully submerged.
Can I use the cheap stuff?
Cheap vodka works fine, but don’t go too cheap. Mid-range vodka gives you better flavor without being fancy.
How long does homemade vanilla extract last?
Years. Truly. As long as the beans stay covered and the jar stays in a dark environment, the shelf life is almost indefinite.
A Few More Ways to Use Your Homemade Vanilla Extract
Once you’ve got a stash of homemade extract steeping in your pantry, the fun part begins… actually using it. Vanilla is one of those ingredients that quietly elevates everything it touches, even in recipes where you don’t expect it.
One of my favorite ways to use strong homemade vanilla is in warm drinks. Add a splash to hot cocoa, homemade chai, or even your morning coffee. It rounds out the flavor, adds a cozy sweetness, and makes your kitchen smell like a bakery in the best way. You can also drizzle a tiny bit into pancake batter, waffle batter, or muffin mixes to take them from “pretty good” to “whoa, who made these?”
If you’re someone who makes your own cleaning products or room sprays, here’s a fun twist: add a few drops of your vanilla extract to DIY linen sprays. The alcohol content helps it mix evenly and the scent is soft, warm, and comforting without being perfume-y. Just make sure you shake it well before using since homemade extracts can settle.
And finally, if you’re giving this as part of a gift set during the holiday season, pair it with recipe cards for things like homemade vanilla sugar, brownies, or a homemade vanilla ice cream recipe. People love being shown exactly how to use something new, and it makes your gift feel even more personal. Homemade vanilla isn’t just a recipe; it’s a tradition in the making, and once your friends or family try it, there’s a pretty good chance they’ll be asking for refills next year.
Final Thoughts
Homemade vanilla extract is one of the easiest ways to elevate your baking, save money, and create thoughtful, beautifully simple gifts. With just vanilla bean pods, a bottle of proof vodka or white rum, and a little patience, you get something that tastes better than anything the grocery store sells.
And whether you’re using Madagascar beans for that classic flavor, Tahitian vanilla beans for a floral twist, or Mexican vanilla beans for a deeper profile, you’ll end up with pure vanilla extract that’s bursting with more intense flavor than any store-bought version. It’s one of those DIYs that just keeps giving…and giving…and giving.
If you make this recipe, tag me on Pinterest or send me a picture. I want to see the glass jars, the dark brown magic happening, the twine-wrapped bottles, all of it. Homemade vanilla is a little project with a big payoff, and you’re going to be obsessed!